
I was looking online for new flavor ideas for doggie treats. No matter how much our dogs like the Pumpkin and Peanut Butter flavored ones, I want to give them different options, too!
I came across this recipe from All Recipes.com. We had some bananas leftover and they were really overripe. So this was perfect timing. I was busy the past couple of days so I froze the bananas for the meantime.
Today, I was feeling all hyped up and eager to try out the recipe. So I took the bananas out from the freezer and started preparing.
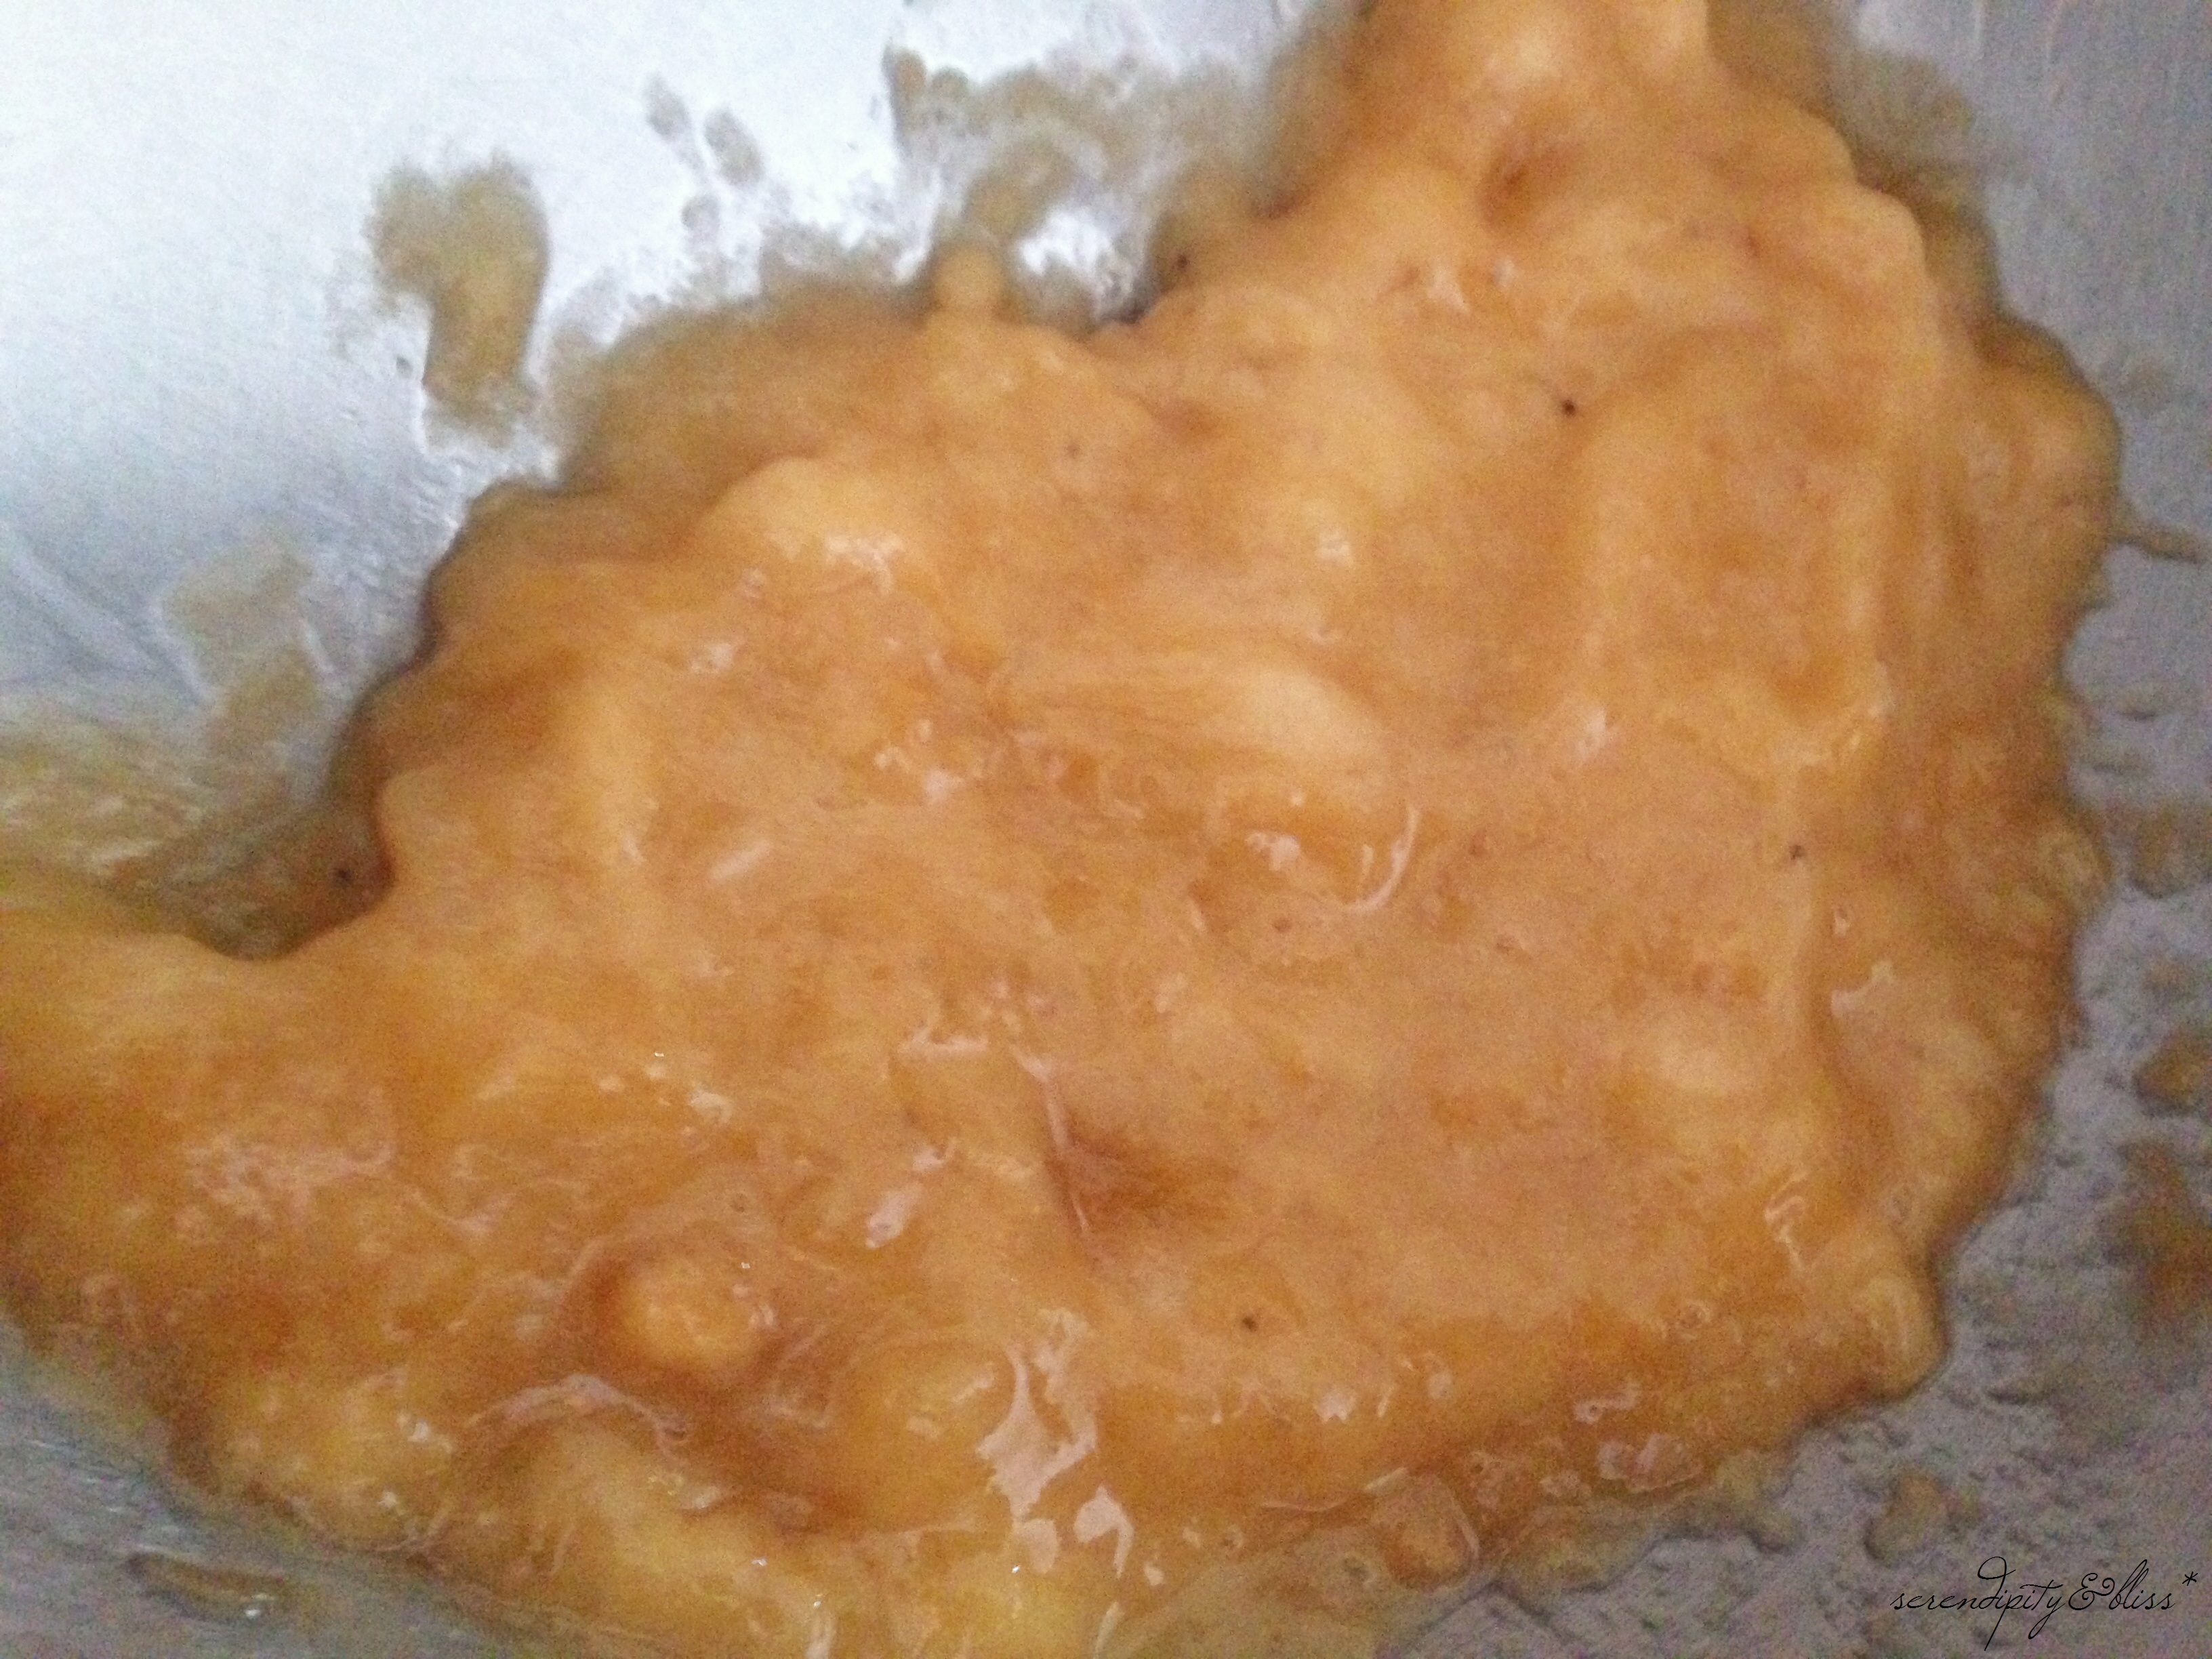
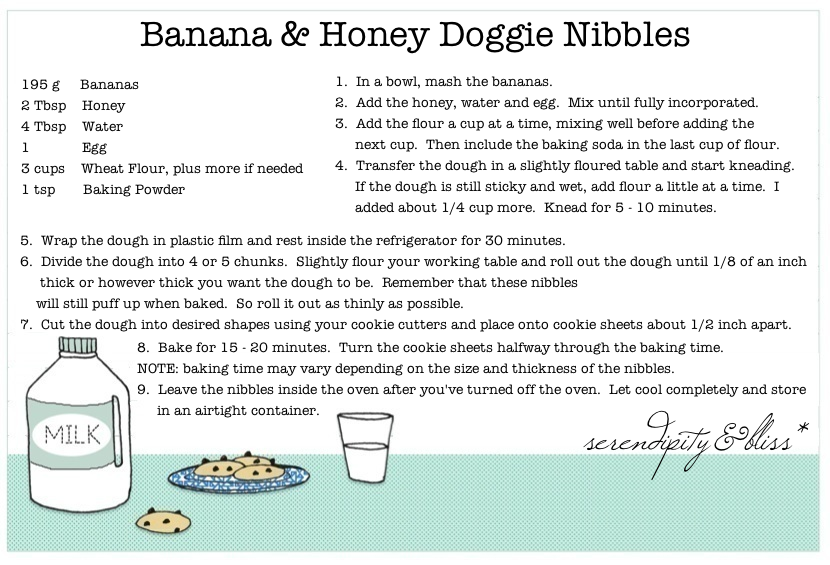
First, mash the bananas! The original recipe called for 2 bananas. My initial thought was, “What size? Or kind? Or to make it simple, what’s the total weight of the two bananas did the author use?!” No fuss though. In this recipe, I used 195 grams of bananas. You can use more or less and just adjust later on.
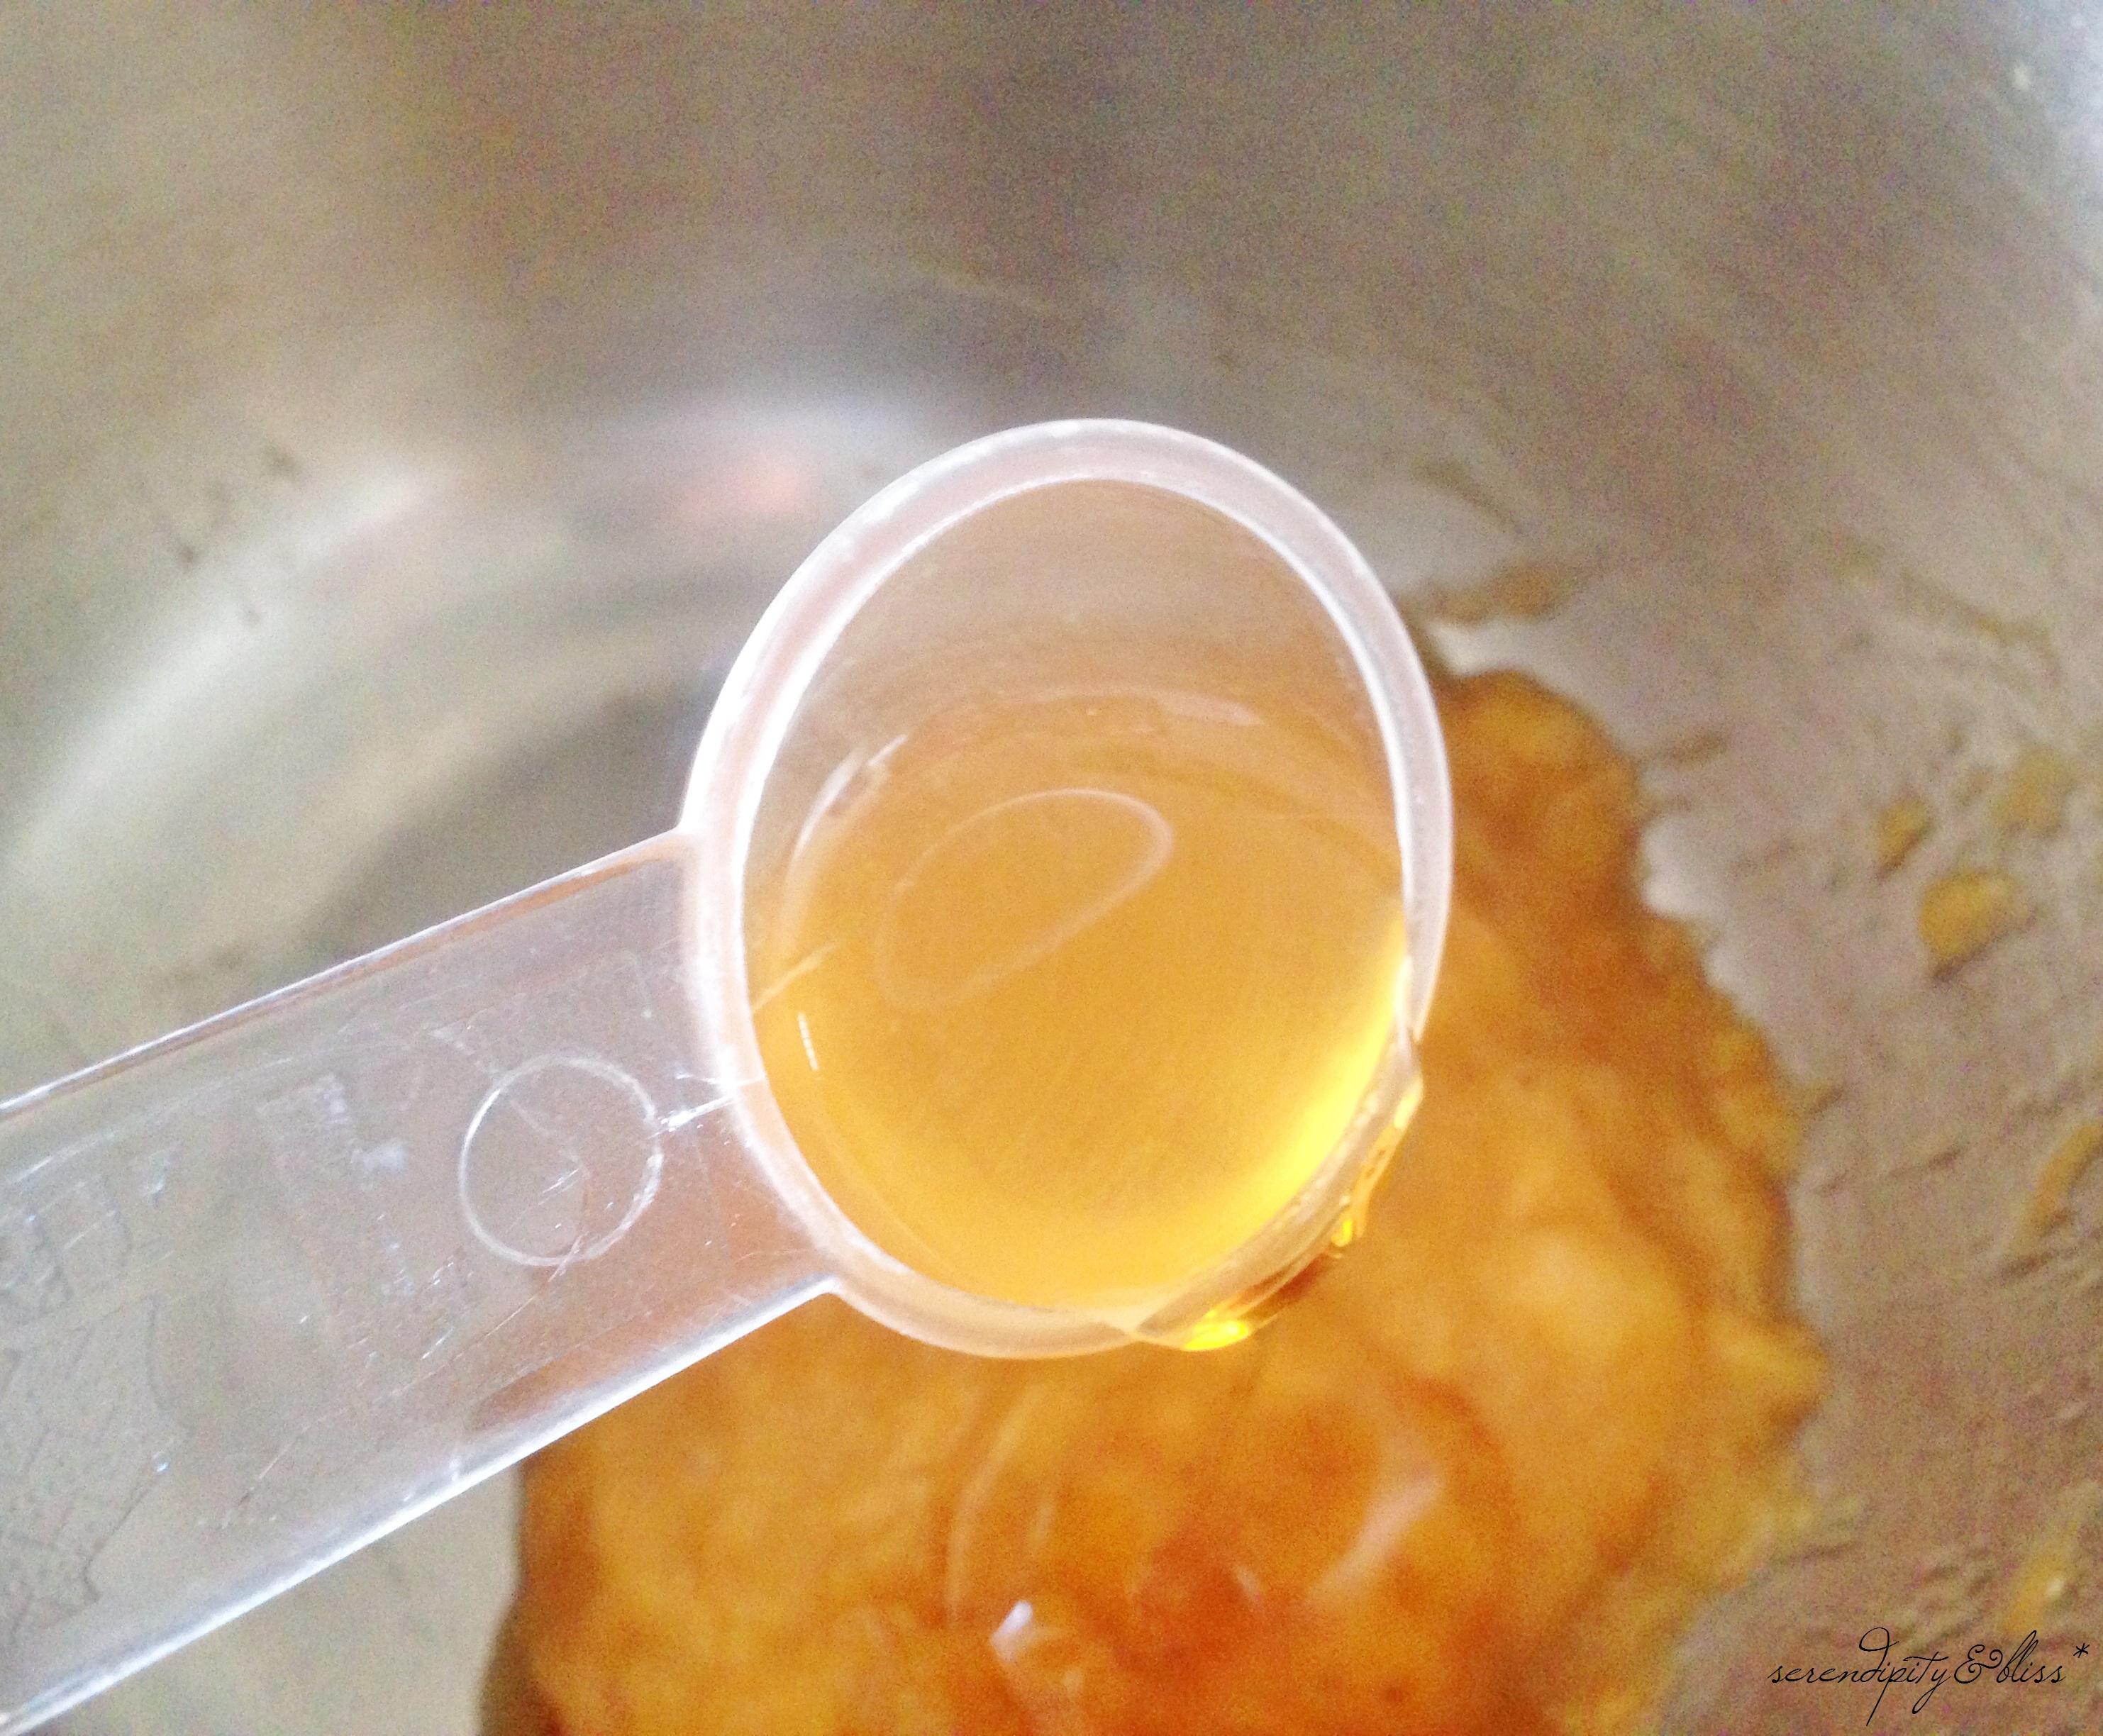
Then I added 2 tablespoons of honey. I was initially against adding honey to my recipes for dog treats, but upon research, I read that it is safe for dogs in moderate consumption plus it’s a natural preservative.
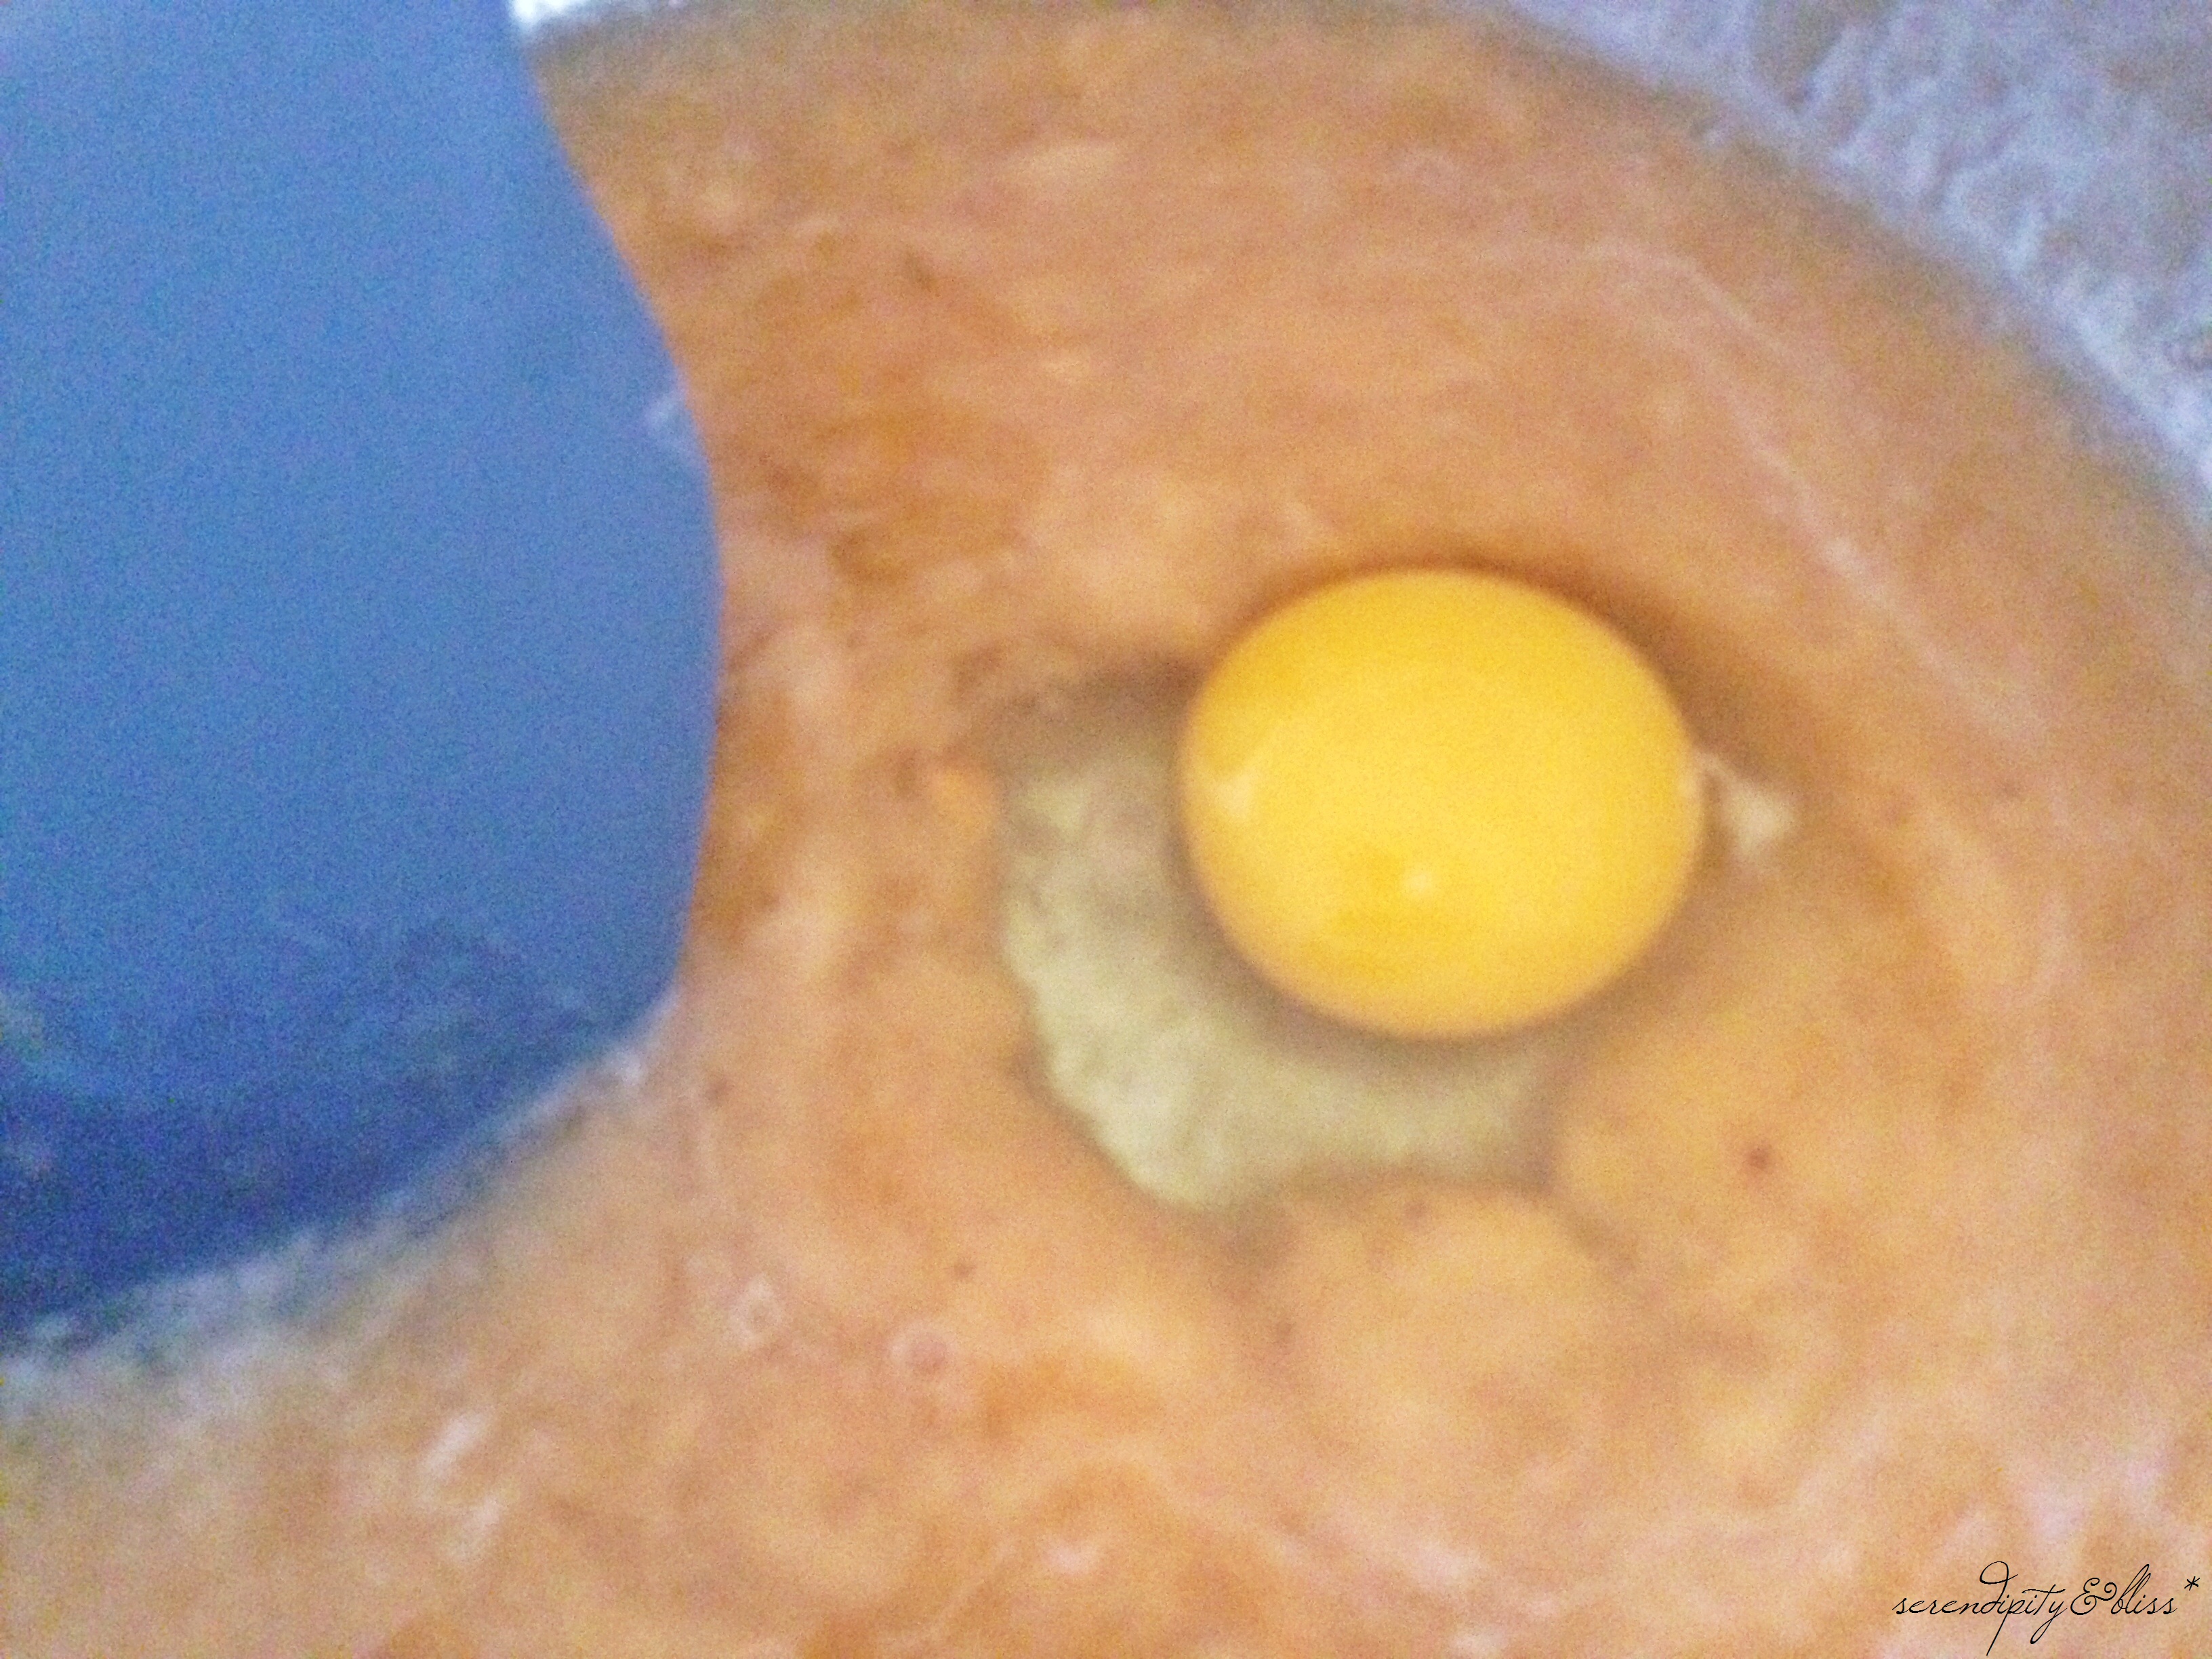
I only added 4 tablespoons of water. The original recipe called for 1 cup of water and based on the reviews/feedback, a lot of people who had tried the recipe complained about the dough being very wet and sticky. So I was careful in adding water. The bananas were already “liquidy”. I think even if I put two to three tablespoons of water everything would go fine. After the water, I mixed in one egg. Before I forget, I didn’t include the vanilla flavoring in this recipe.
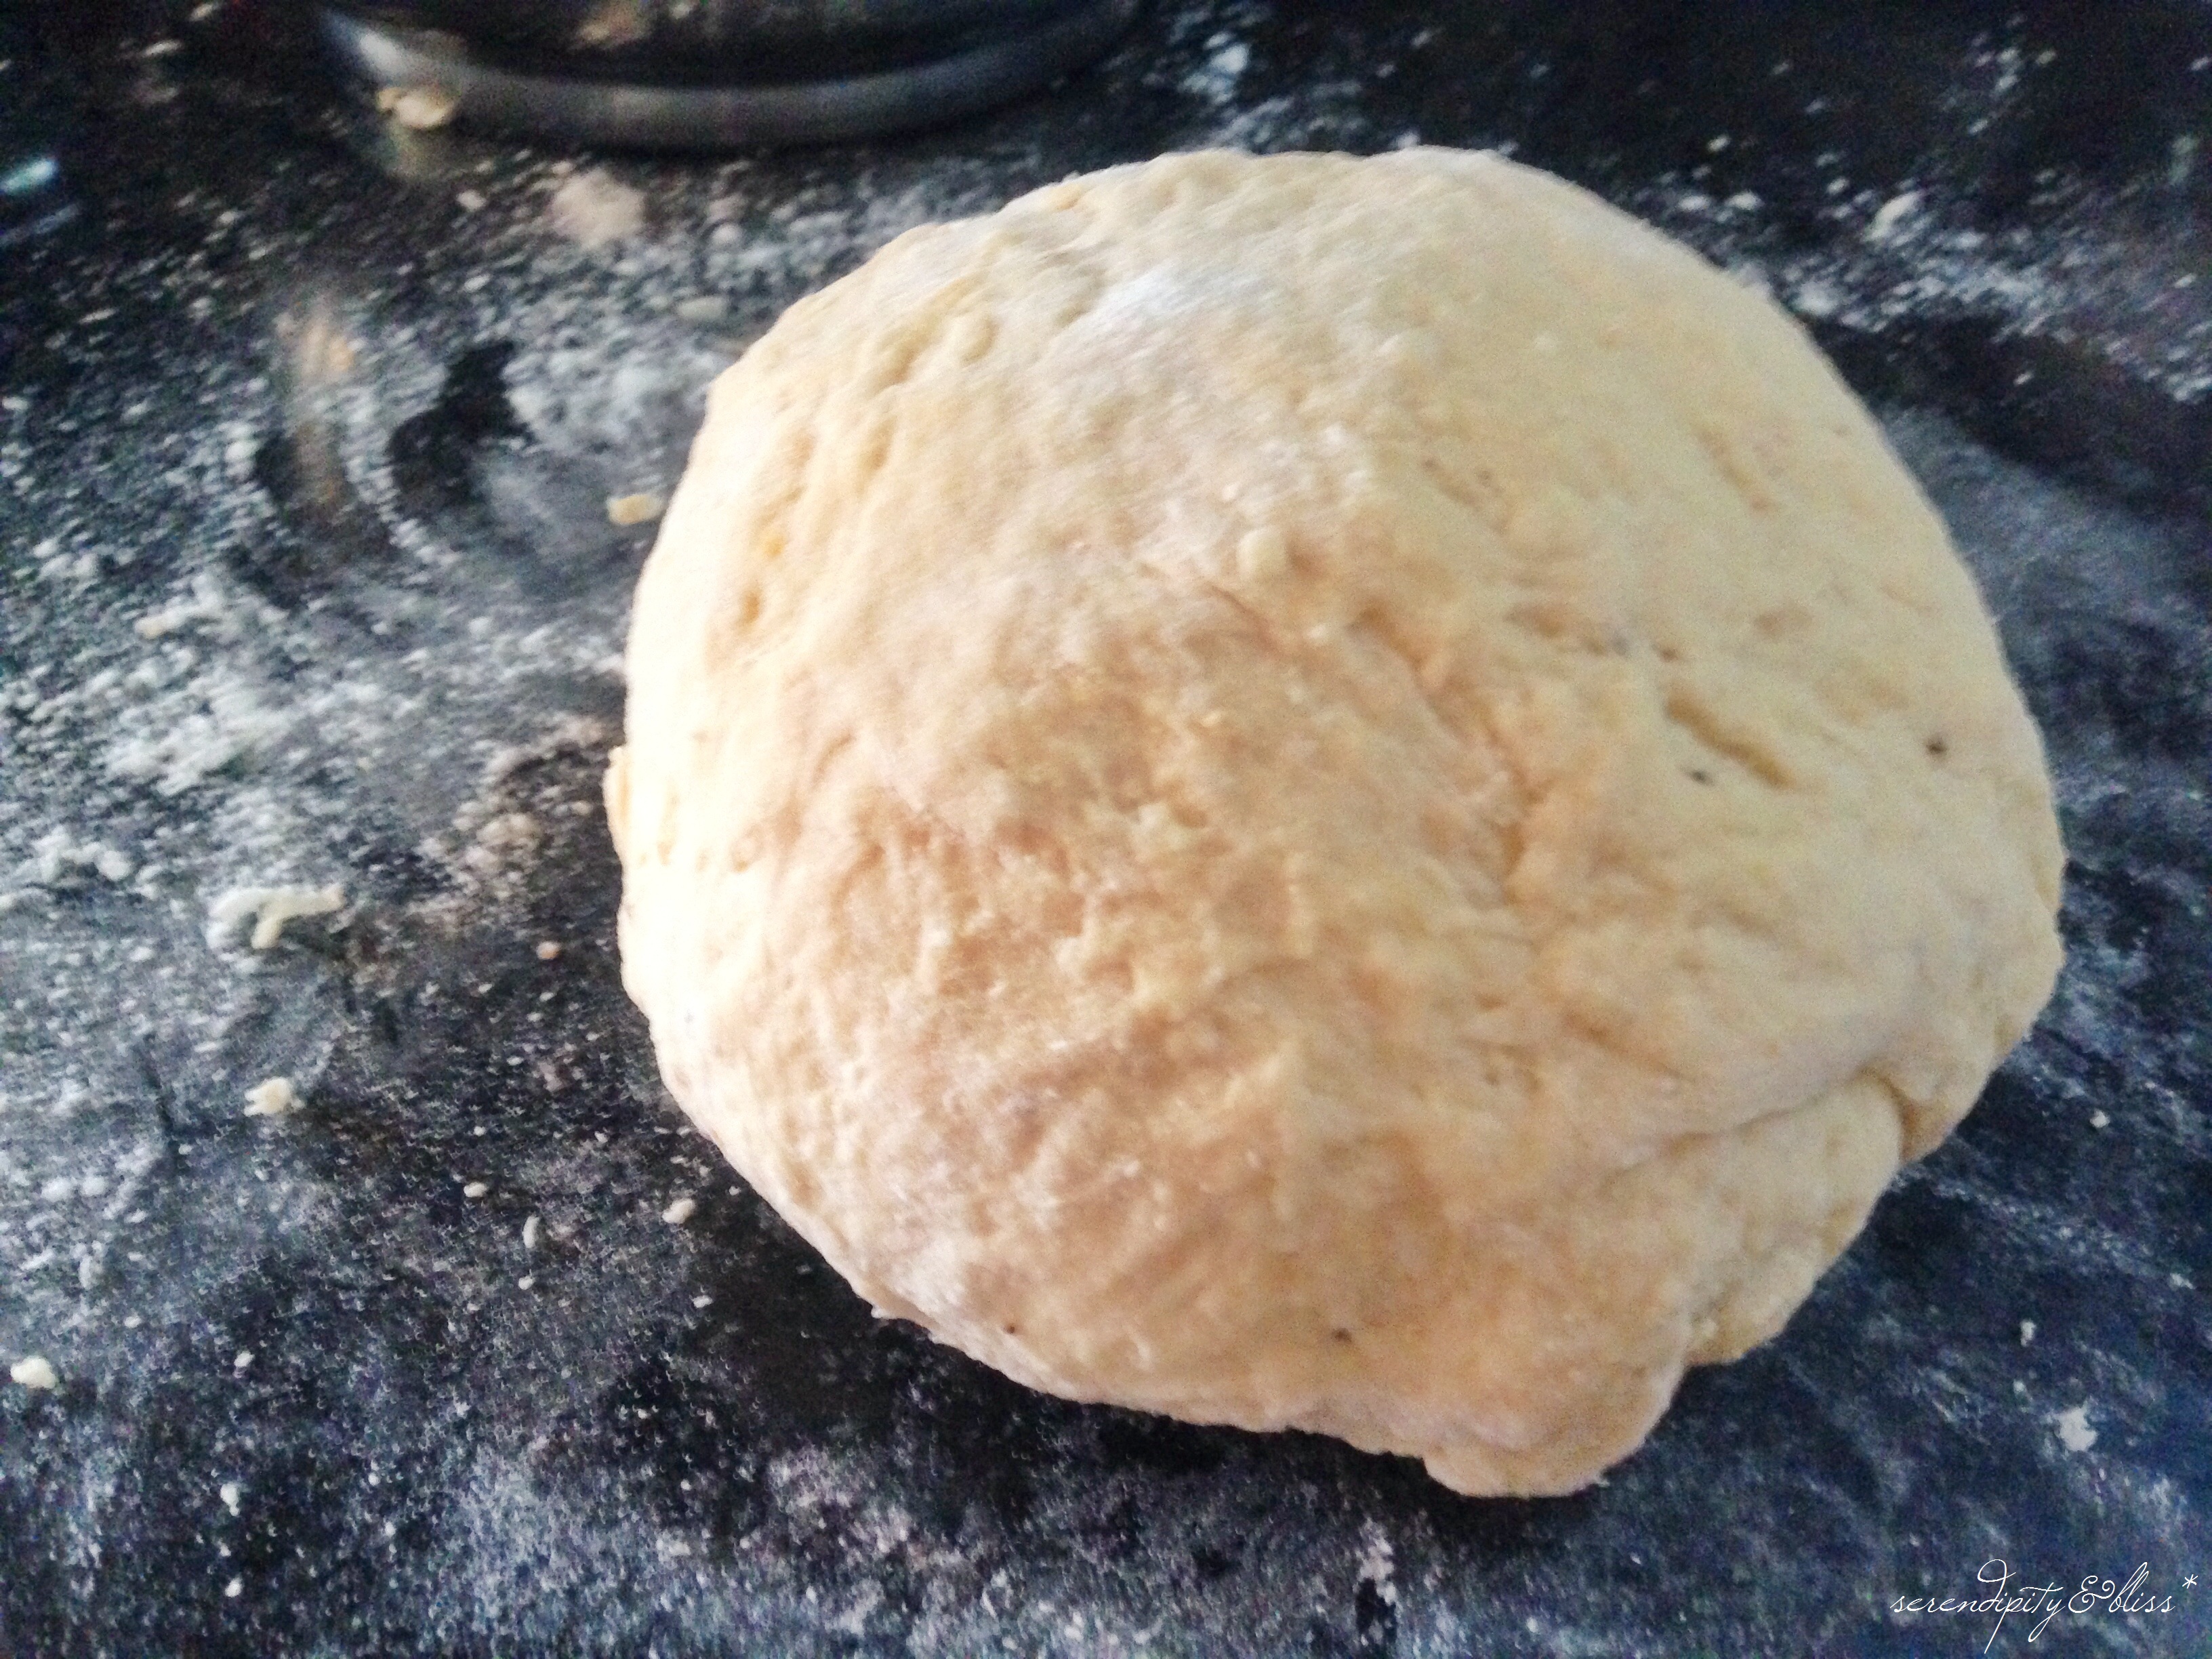
I added the flour a cup at a time. I thought that the 4 1/2 cups that the original recipe indicated was too much. And by adding less water, I only used 3 cups in total. This is so the dough won’t feel as sticky. I also added the baking powder together with the last cup of flour.

Then I had to knead the dough for about 5 – 10 minutes to make a firm dough. You may need to add more flour at this point. I think I added about 1/4 cup more flour while kneading to keep the dough from sticking to my hands and on my working table. Totally manageable. After kneading, wrap in plastic film and let it rest in the refrigerator for about 30 minutes.
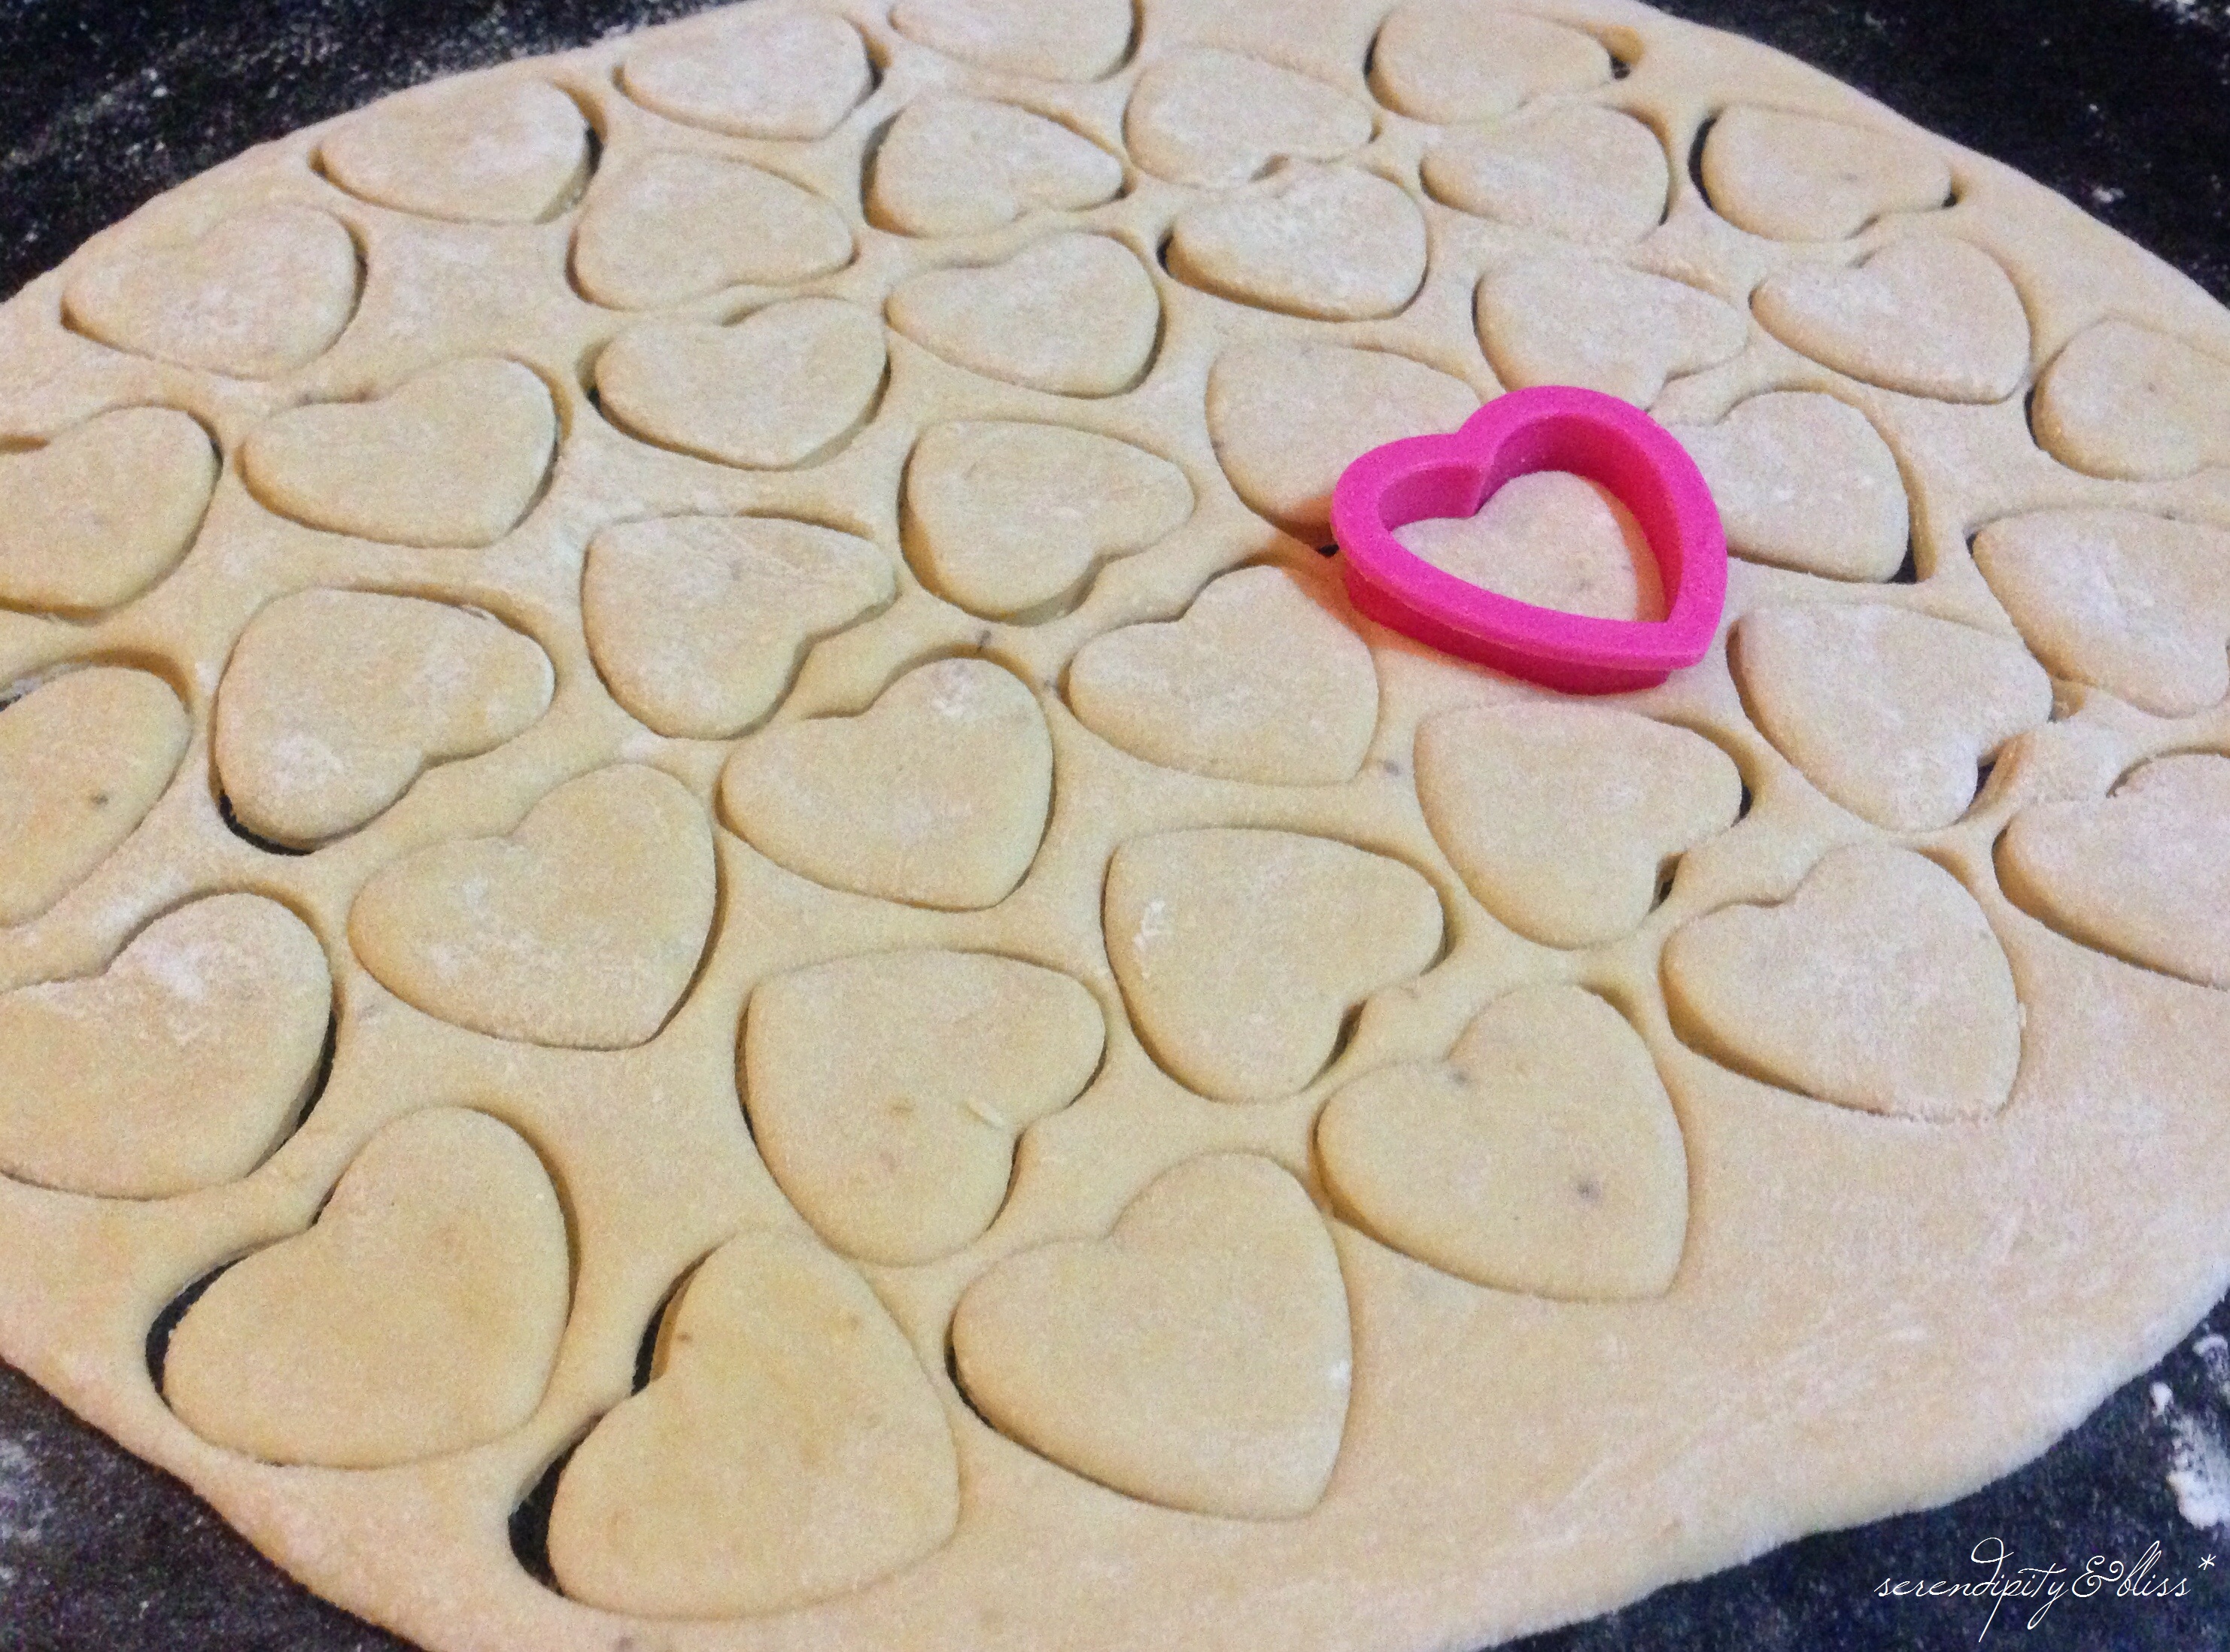
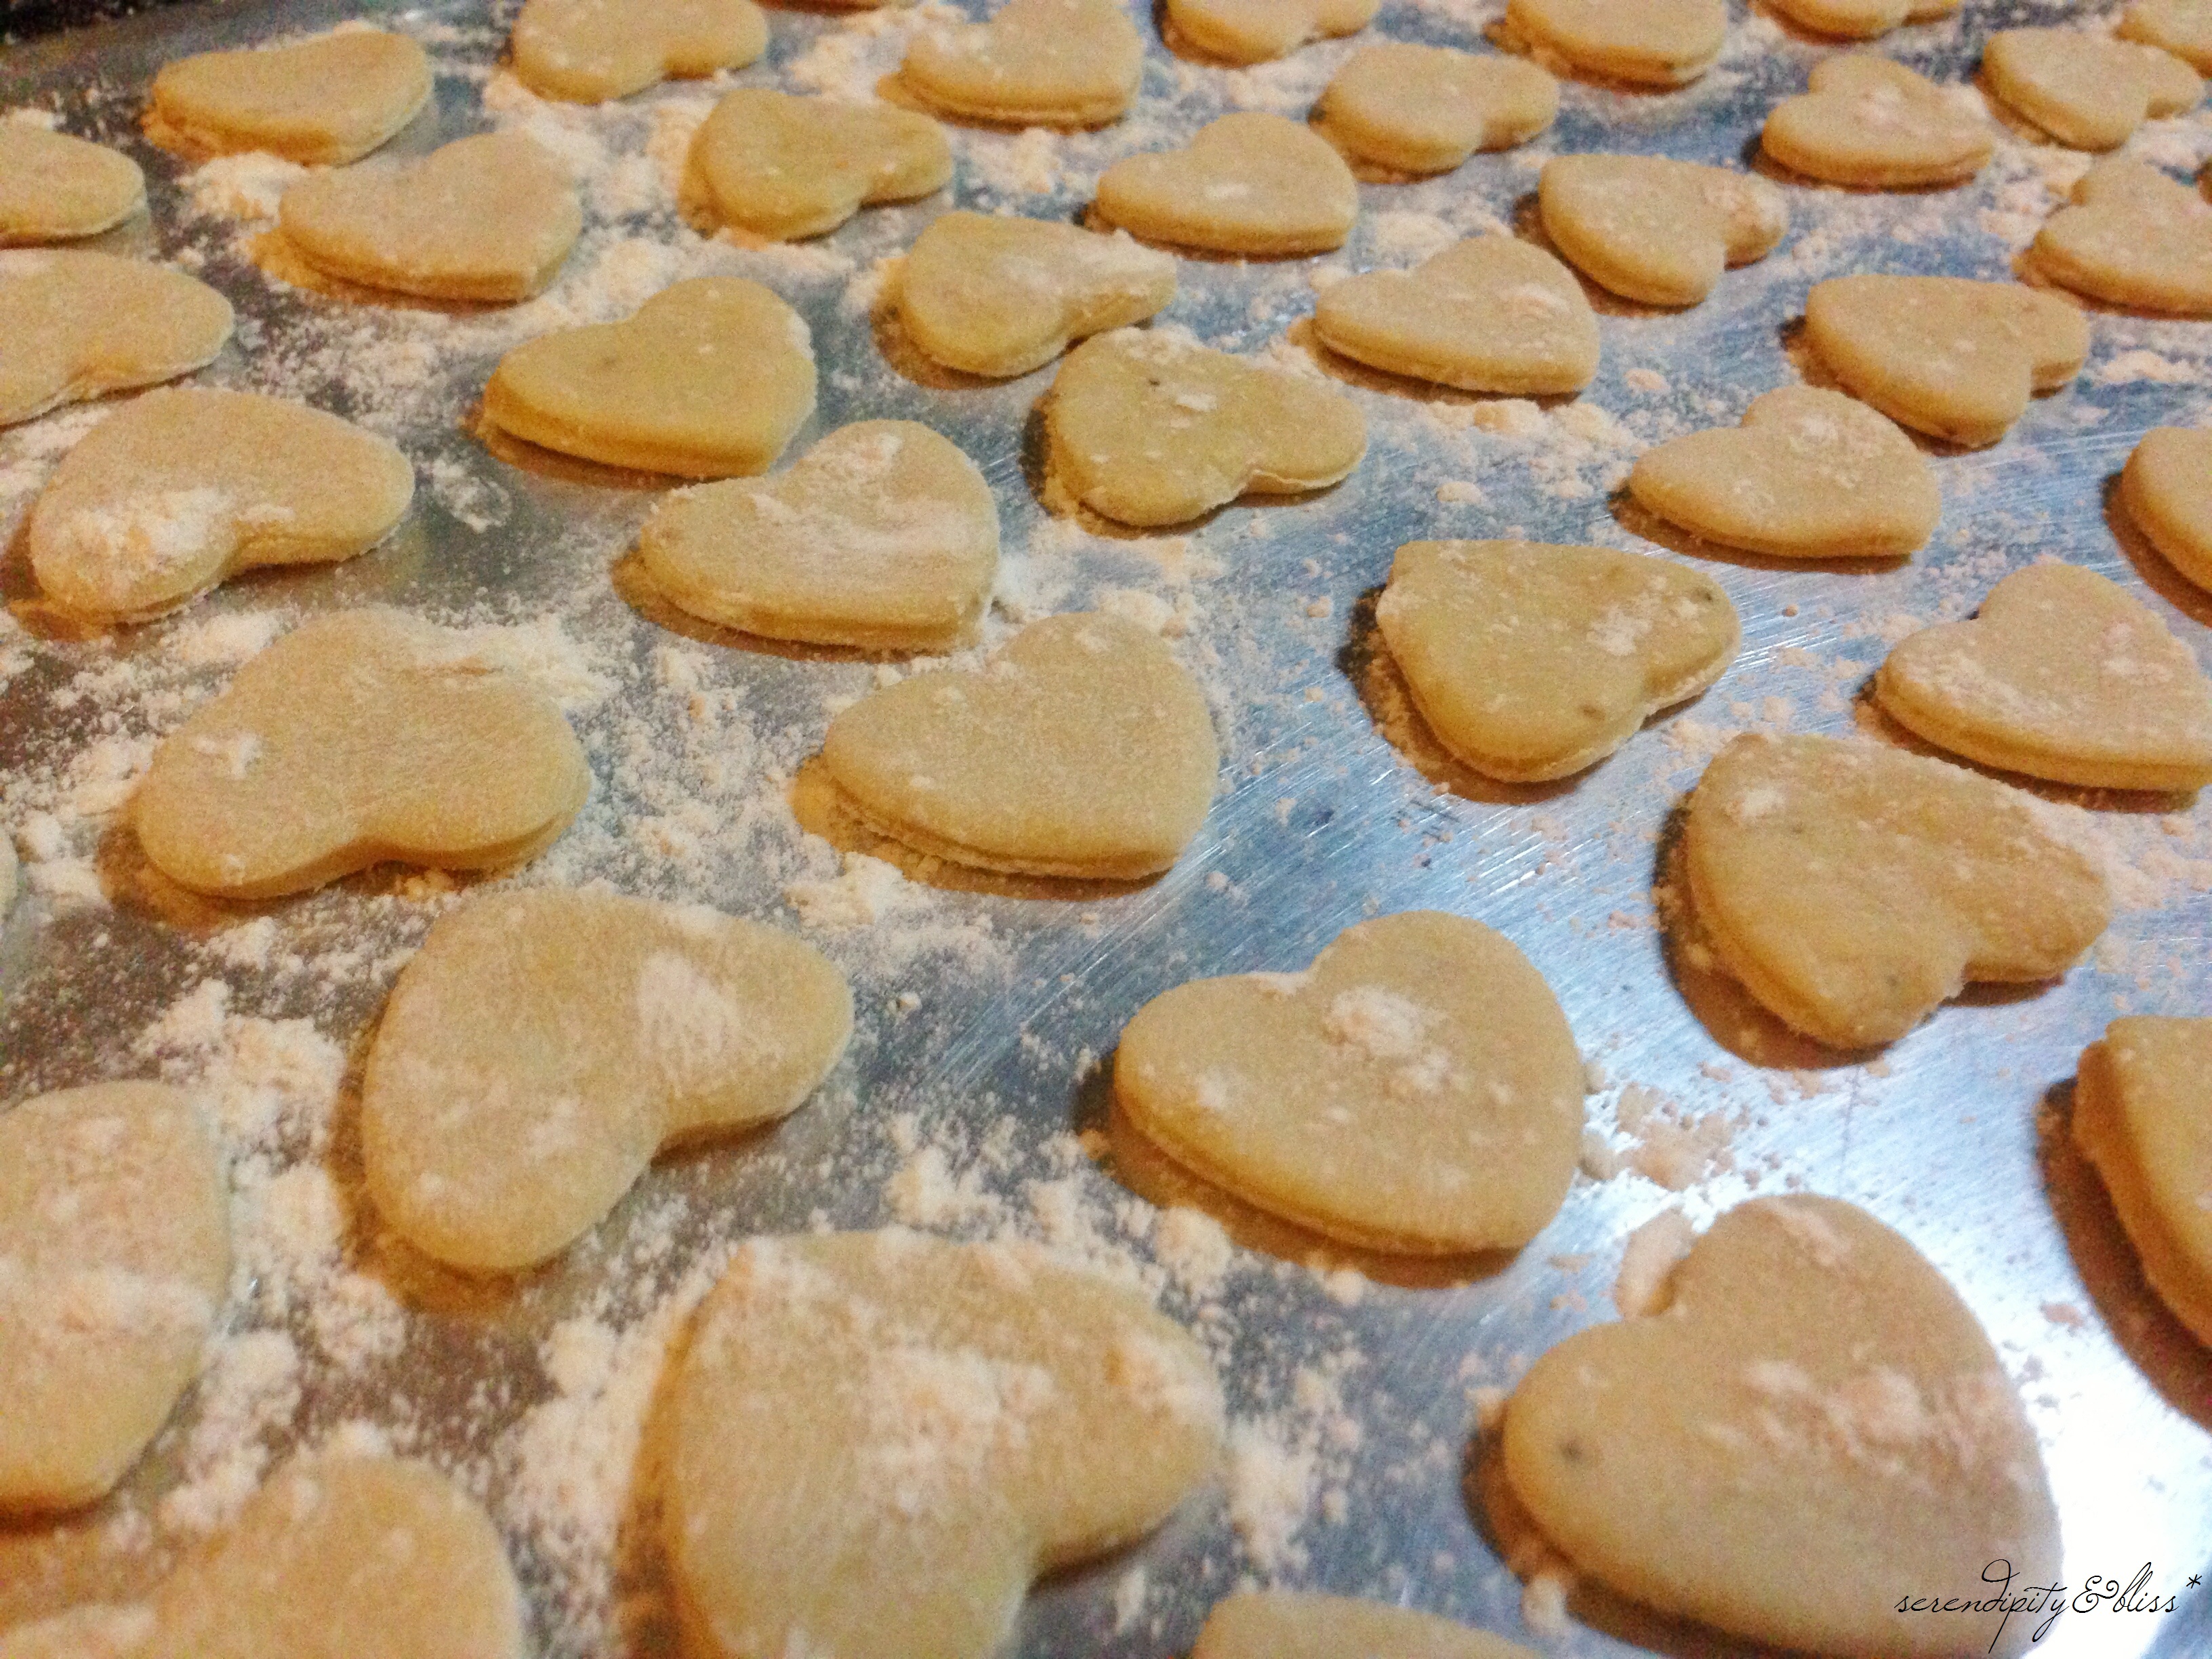
I like to work in small batches. Mainly to not put a strain on my wrists and arms. I divided the dough in six. With a slightly floured surface, I started to roll the dough to flatten it. Just like the other dog biscuit I made, this dough tends to shrink as you roll them. Just be patient! When you’re satisfied with the thickness, cut them using your desired cookie cutter shape and position them in a cookie sheet. Mine was a little thicker, about 1/8 of an inch thick. Again, the thicker it is, the longer the baking time.
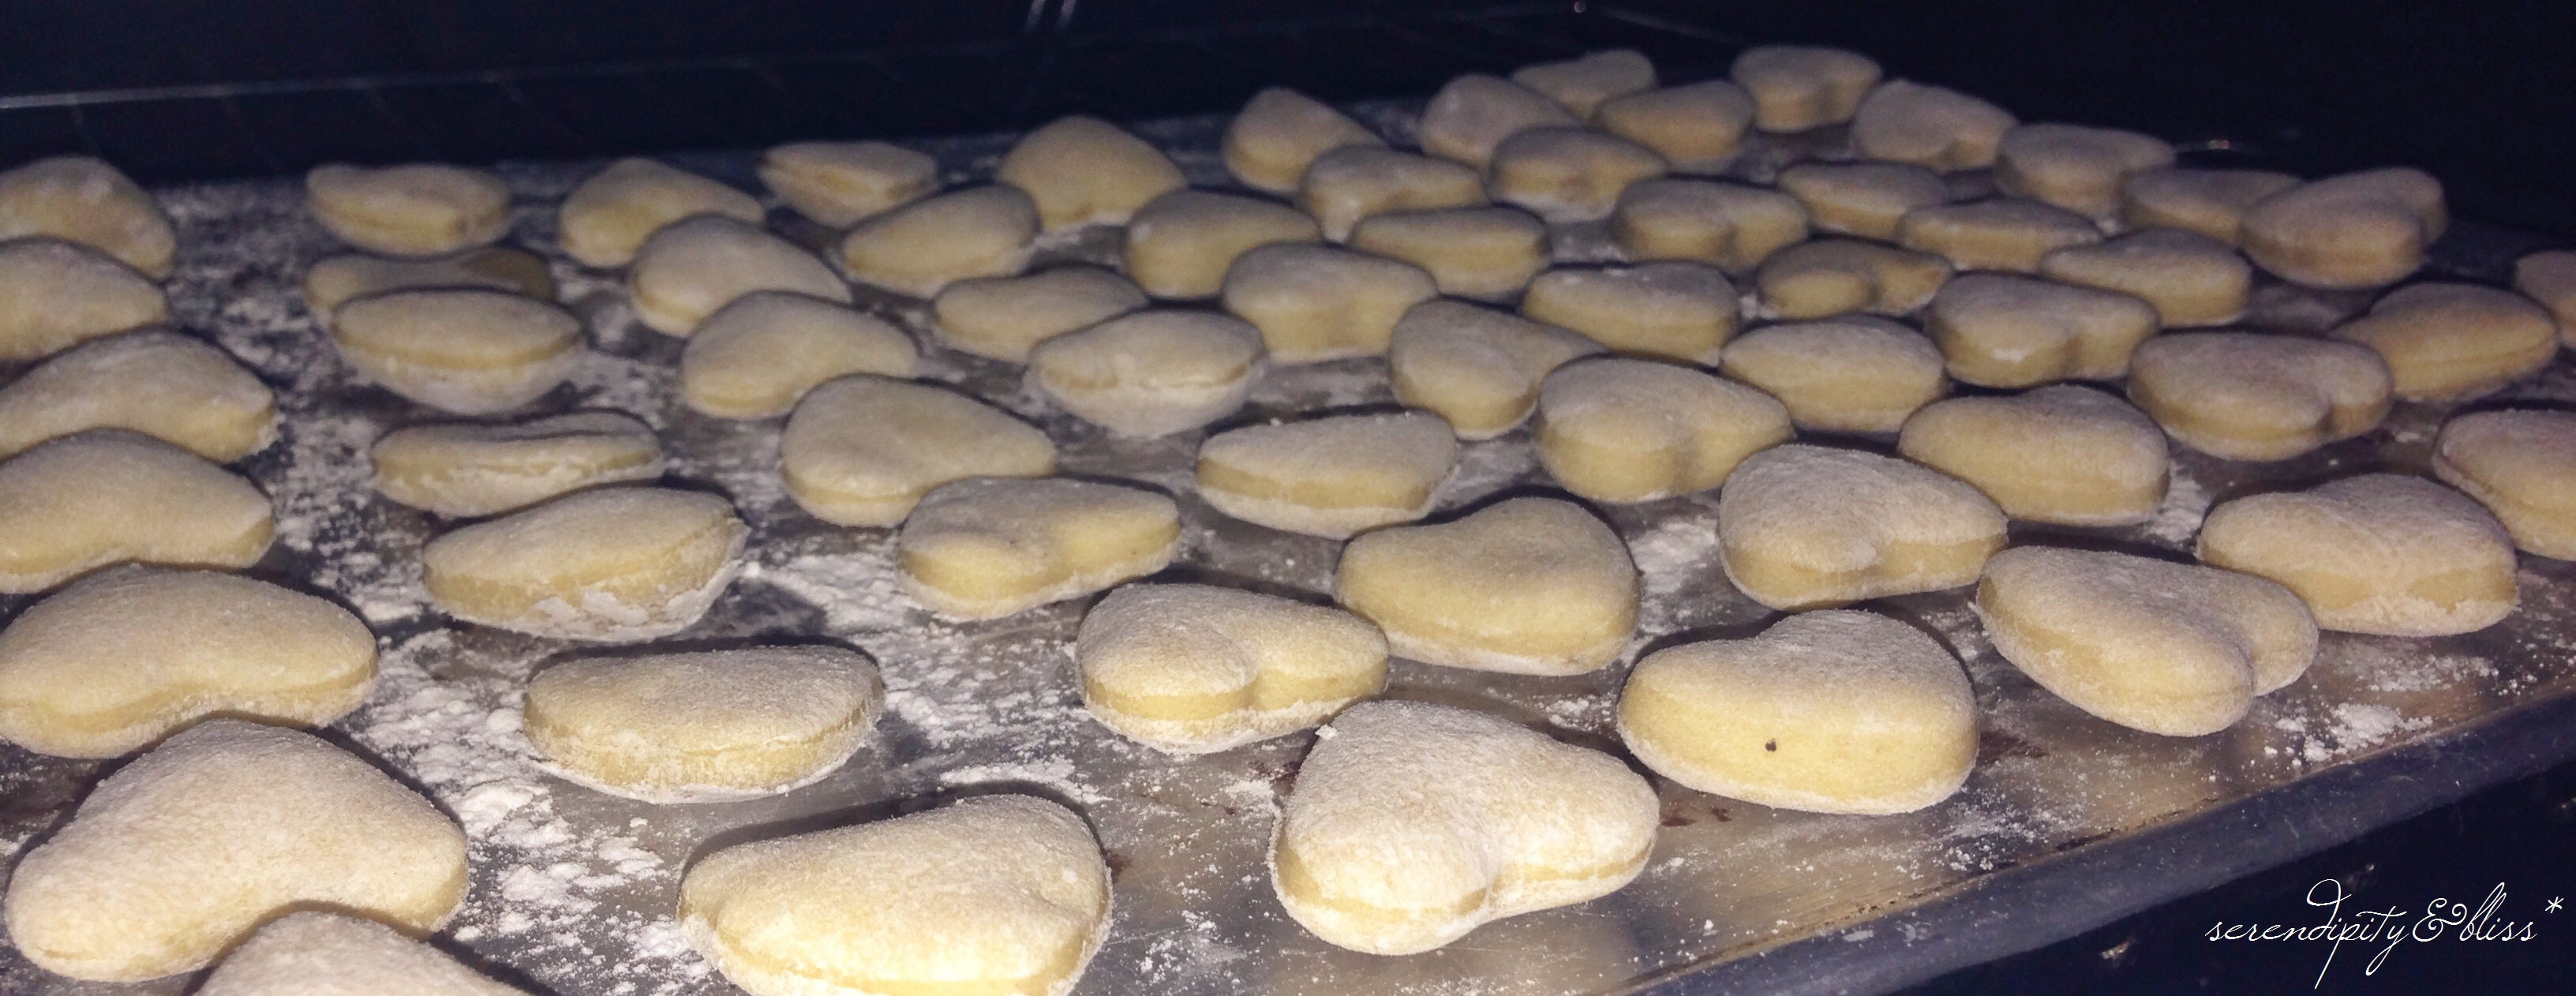
I only pre-heated the oven by my third tray of biscuits. Baked them at 300F for 20-25 minutes, turning the cookie sheet halfway through. I didn’t want my nibbles to turn very brown so I lowered the oven temperature. I was surprised that they puffed up the way they did. I might have to adjust the baking powder for next time. The kitchen smelled of bananas for quite a while!
Once the nibbles are baked, turn off the oven and let them sit inside your oven until it cools down. This is to make sure that the nibbles are dehydrated and prevent it from accumulating mold and get spoiled. Let them cool completely and store in an air-tight container.
For a printable PDF recipe card, click here.
** Original Recipe Cards Template from Creature Comforts Blog. Edited by me. 🙂
**** UPDATE ****
The dogs loved it! I tasted it myself and it resembles the taste of white bread. I guess a few more adjustments to the recipe won’t hurt. =)
