Hello lovelies!
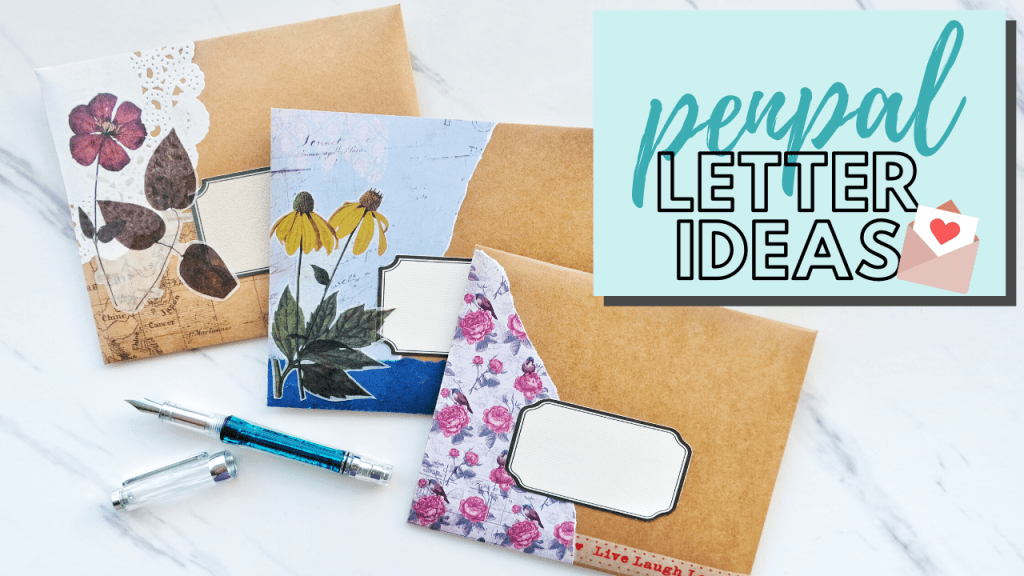
In relation to my bullet journal theme this month of February, I want to show different ways to make penpal letters based on level of difficulty and simplicity without breaking the bank.
First of all, I like to use what I already have on hand like papers leftover from different projects and leftover wedding stuff that I still keep. I DIY a lot of elements I put in the letter using these materials. In all honesty, it takes me a few days to finish a letter because I want to use different layouts for the stationeries I include in the letter. Sometimes even changing at the last minute. I also use decorative papers, washi tapes, stickers, stamps, and print-outs to decorate or include in my letters.
THE ENVELOPES
For the past letters I’ve sent, I used the envelopes from my wedding invitation, which I still have a few leftovers of. It’s a thick off white envelope that I feel is very durable and will be able to keep everything I’ve included inside safe! LOL. I also used the white catalog type envelope, which are in essence to be used vertically.
In this post though, I will be using a kraft envelope that I handmade using a legal-sized kraft paper I bought online.
THEMES
You can definitely use any theme you want, but I don’t really follow any rules or themes per se. This limits me a little because I have different kinds of supplies that sometimes don’t really go together. I usually use a color theme instead of a theme theme coz that’s just easier! 😜

LETTER #1 – EASY, QUICK & SIMPLE
I tried to make a theme out of the color blue and flowers. So there are a lot of floral/plant elements in this letter. All stationery inclusions were slid in a paper bag I made using parchment paper.
ENVELOPE – I used blue decorative papers and torn them freehand to create this rustic effect. I also added yellow flowers for contrast. The address tag is something I printed out myself.
LETTER – I bought these two-sided paper pads a while back from a local bookstore and they come in different colors and patterns. I used that and punched the design on the top to make it more interesting. The puncher I used was a Martha Stewart Chevron Fence one that I used for our wedding stuff 3 years ago. I haven’t used it since until now. LOL 😝
STATIONERY ITEMS – I included a few sheets of different notepads, a plant postcard, different flower stickers, floral washi tapes in different colors, sloth vectors and girl illustrations that I printed on sticker papers.
MISCELLANEOUS DIYs – I handmade the blue floral envelopes using a decorative paper and the paper bag and small envelope using parchment paper. I also made a mini bookmark using a kraft gift tag, washi tapes and a sticker and lace that was also from a wedding DIY as the ribbon.

LETTER #2 – CREATIVE AND CUTE
This second letter took more time to make, but it’s definitely a little more complicated from the previous letter sample. The theme for this letter is the color red.
ENVELOPE – I used another decorative paper with roses and a red washi tape that reads ♥ Live Love Laugh ♥. Then the address tag I printed out.
LETTER – The letter itself is the same as the previous one. 😉
STATIONERY ITEMS – I included various sticky notes stuck at the back of the pocket sheet. Red washi tapes and differnet gilded ones, flower sitckers, dots stickers, girl and sloth stickers that I printed out, and a red flower sticker. I also included different floral notepad sheets.
MISCELLANEOUS DIYs – The white pocket where the letter is inserted in was made using scrap sheets of board paper. I then stamped in the girl to make it not so plain. I also made the accordion envelope using pre-made little brown envelopes. I glued the middle part of all 3 envelopes together, then made the outer layer of the accordion using a red decorative paper. I hot glued a button to act as the stopper/sealer. And last is the bookmark I made out of a gift tag, washi tapes and stickers.
LETTER #3 – A LEVEL UP
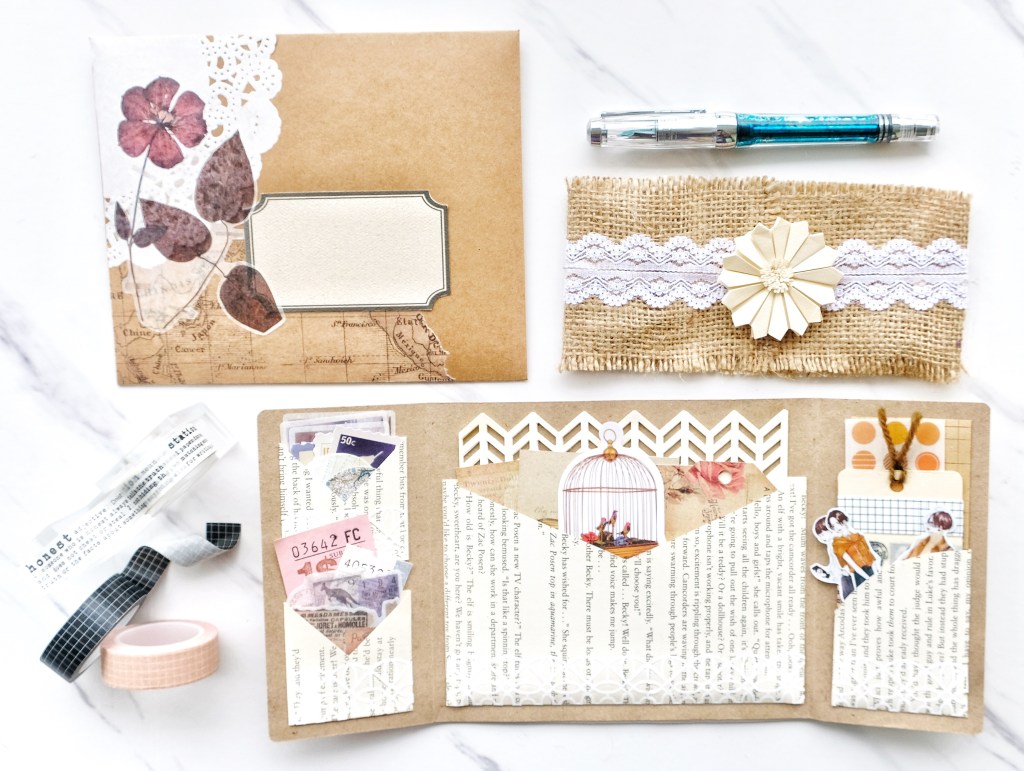
This third letter sample took a little more time to make. I wanted it to look vintage-y so and I didn’t have a lot of that kind of ephemera to complete that vibe. It took a lot of planning to finish this one.
ENVELOPE – I used a doily, a washi tape with an old map pattern on it, a floral sticker and a brownish address tag to complete the vintage-y look.
LETTER – I used the Jotter Pad from my NotedJournalPH Box for the paper and the same chevron puncher to give it an interesting feel to it. I initially wanted to tea stain the papers, but I didn’t like that it was a bit wrinkled afterwards. I used that test paper for the origami flower instead!
STATIONERY ITEMS – I included stickers of postage stamps, circular maps, tickets and a bird cage for that vintage vibe. I also printed out a few vintage ephemera and girl stickers from Pinterest. A brown grid washi tape sheet, orange bullet washi, and washi samples of both white/brown theme and colorful theme.
MISCELLANEOUS DIYs – I made the burlap and lace sleeve using the leftovers from my wedding. I DIYed flower vases for the table centerpieces and I still have a lot of burlap and lace leftover from that project. I also made an origami flower out of the tea stained paper. For the letter, I made mini envelopes using book pages and glued them on the kraft paper flipbook, which I also made!
Overall, my favorite is the third one. Not for anything, but this is really outside my comfort zone. I usually stick to cutesy colorful letters. Being limited to a semi monochromatic palette made be think outside the box and be more creative. It wasn’t easy honestly. It took me 2 days to come up with all of that. Sometimes it helps to leave where you’re stuck and regroup so fresh ideas could suddenly pop up! 😉
